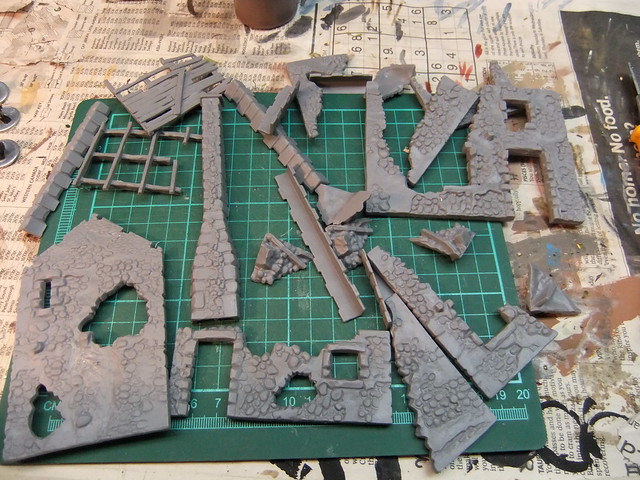
Warlord just sent me a box of their 28mm US Rangers and a sample bag of their new ruined hamlet pieces.
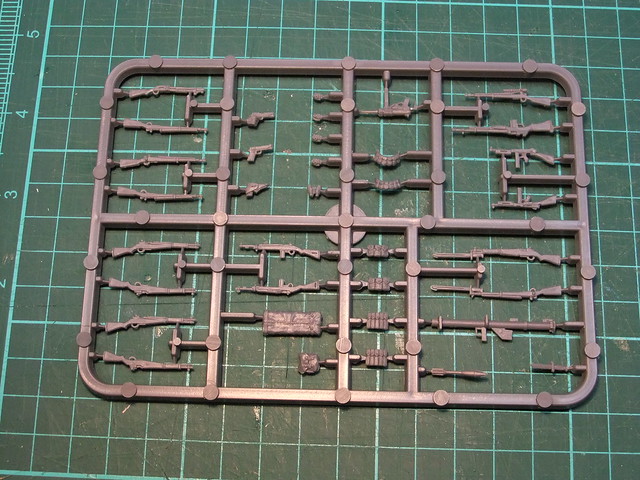
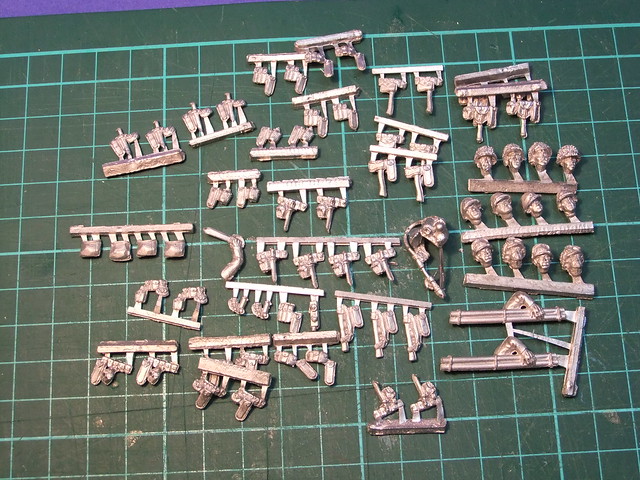
The Rangers box contains 5 identical sprues of troops, 3 identical weapons sprues and a bag of metal Ranger accessories and extra heads. The frames are labelled "US Infantry" so I think the upcoming US Infantry box will be the same but without the metal Ranger accessories.
Each sprue will make 5 soldiers. You get 5 torsos, 5x 1 inch circular stands, 8 different heads and 13 pairs of arms. There are also rucksacks, canteens, bayonets and ammo pouches to attach to the moulded on web belts.
The weapons sprue contain a bazooka, a BAR, some Thompson SMGs and M1 carbines, a 'Grease Gun' SMG and a selection of pistols and rifles.
The bag of metal Ranger gear has all you could want to storm the battery at Pont-du-Hoc; wire cutters, Bangalore torpedoes, axes and a flame thrower. There are also extra heads, small packs and ammo pouches.
Initially I was put off by all the pieces and needing to glue weapons into hands, but I started playing about and found that by my fourth or fifth figure I was assembling them in about 10 minutes each. There is a learning curve with these to get the figure to come out the way you want it too and you have to think ahead a bit.
I found gluing torso to base, then adding on ammo pouches and other stuff to the belt before selecting arms was important. Making sure he had the different Thompson or BAR magazine pouches if he was going to be armed with that and making sure the bayonet and canteen were hanging were a soldier would carry them for comfort and ease of use. Then I thought about what I wanted my soldier to be doing, tried a pair of arms out and pondered how the chosen weapon would fit. I then glued the arms in place and used the few minutes of the joint being soft to glue the weapon in so I could get a snug fit at the shoulder if he was firing. Last to go on was the head so I could make sure he was looking where the weapon was aiming.
I found the metal heads needed a bit of trimming at the neck to make them fit, but the plastic heads sat in the hole perfectly and allowed a good deal of rotation.
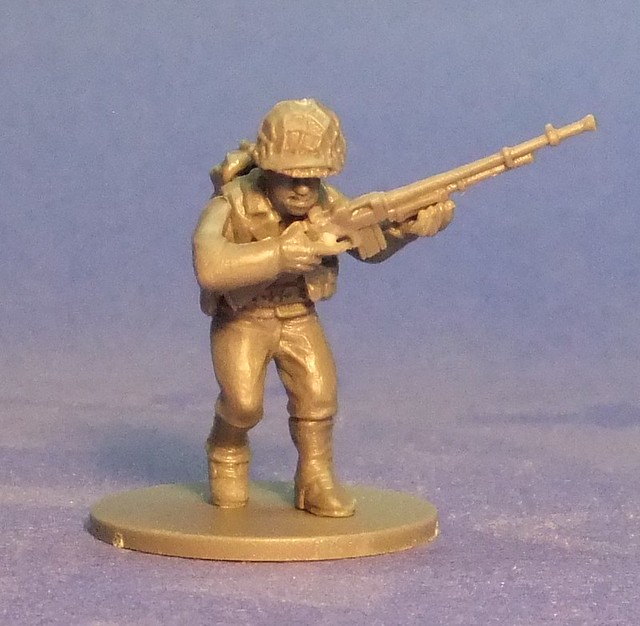
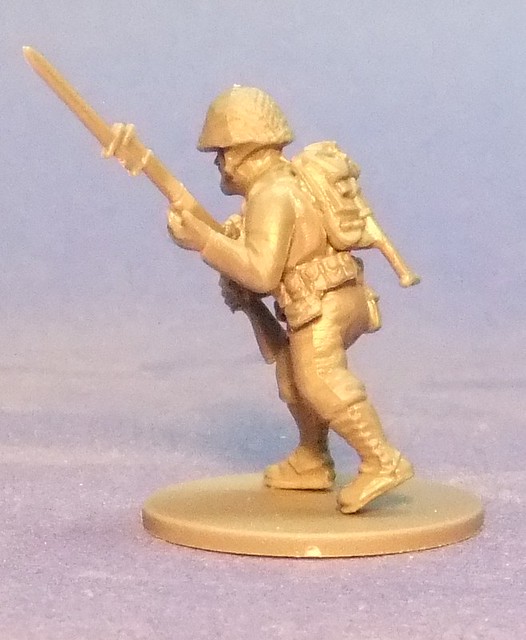
Here are the figures I put together in one morning's session. The running rifleman and BAR gunner were my first attempts. I was still a little fuzzy on the proper arm choice. I've given all my G.I.s rucksacks and most have entrenching tools.
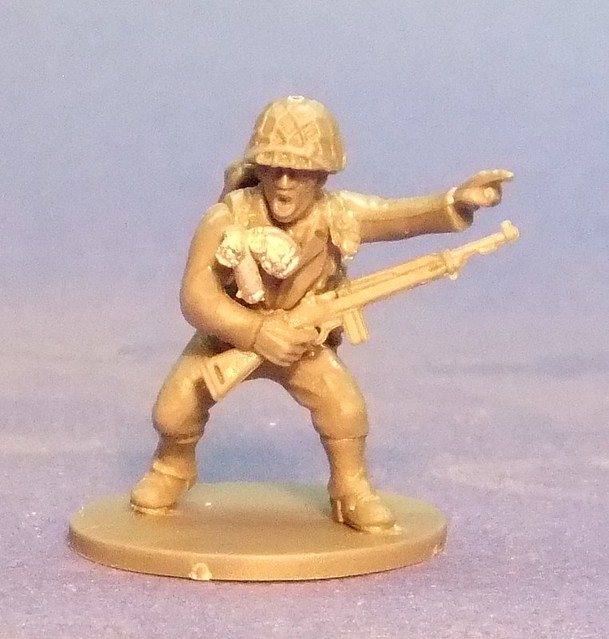
Here's my LT shouting directions. I used some bits from the Ranger accessories to totally gear him up. So I gave him a flashlight and extra grenades plus another small pack on his hip.
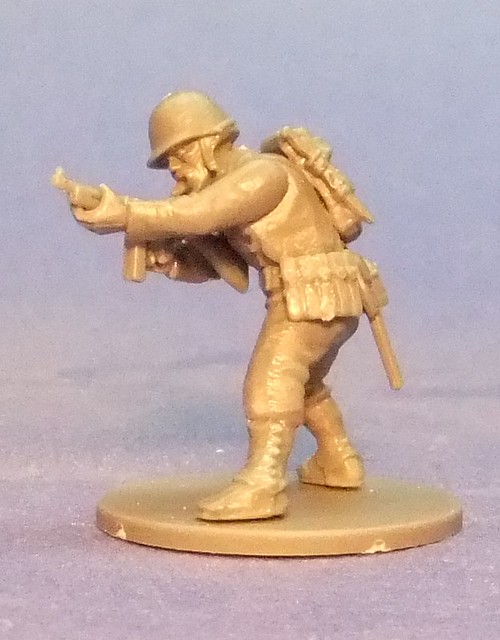
Here's my First Sergeant; chomping a cigar while clearing a room with his Thompson.
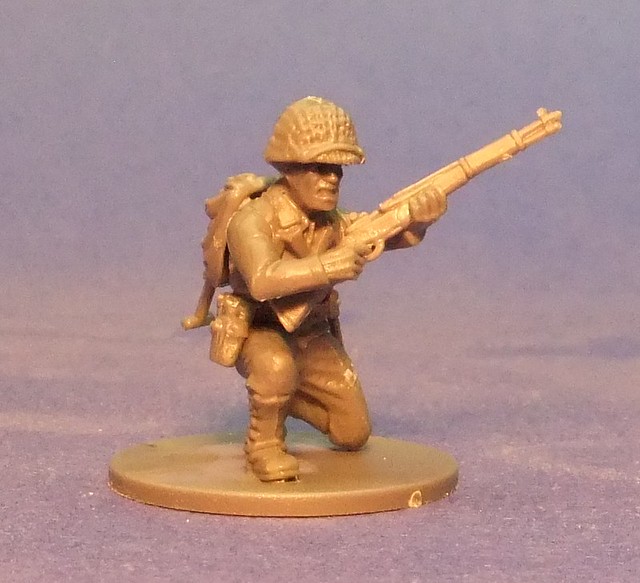
One figure on each sprue is kneeling. I was still fuzzy on the arms and wanted him shooting but ended up with him looking like he's ready to sprint to the next piece of cover instead.
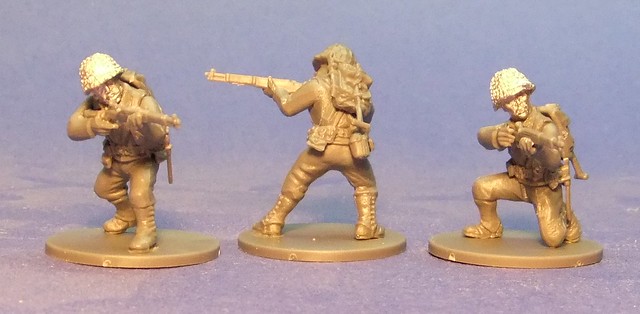
With my last three I finally got the hang of the shooting pose I think.
I really like the detail and animation of the resulting figures. The pieces were all cleanly moulded and well detailed. The plastic rifles and bayonets are nice and in scale when compared with the overly thick metal sculpts. I also get a cheap thrill that my figures are unique. I doubt anyone will make the same choice in gear and pose as I do. The conversion potential for these figures is quite high as we've already seen demonstrated by Games Workshop kits and what people have been doing with the Perry Wars of the Roses figures.
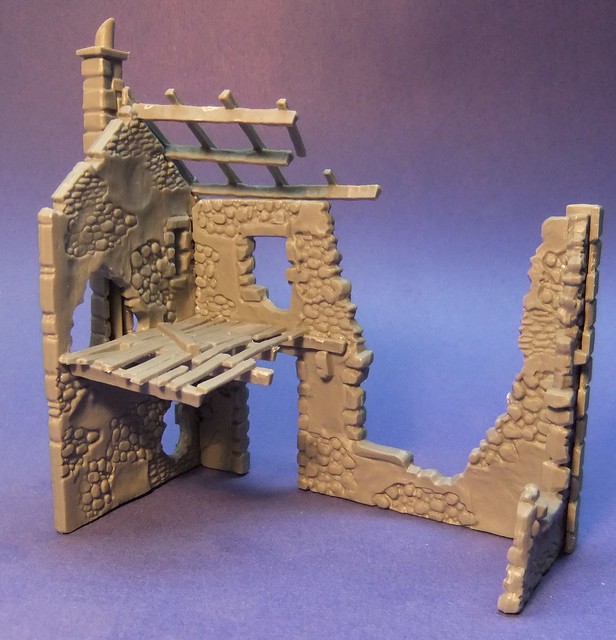
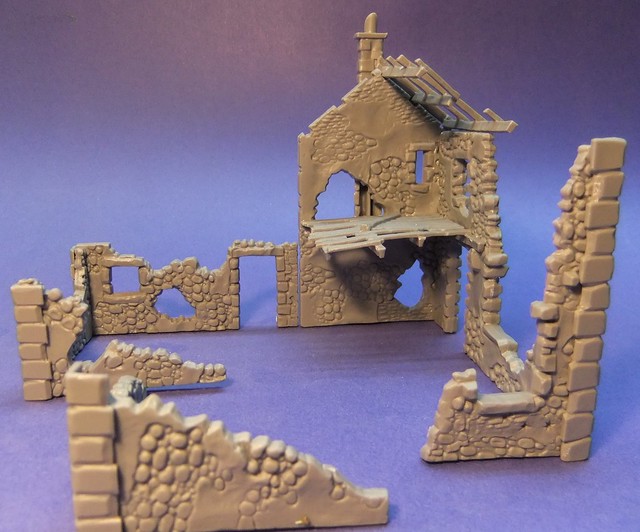
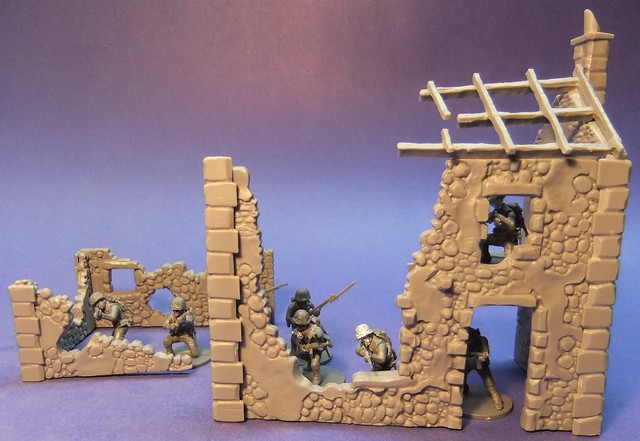
The ruined hamlet pieces were an interesting mix. I think what I got was one 'building's' worth or a third of the boxed set. The Warlord site says you get enough to build three ruined houses. The parts are all detailed on both sides so you can change the orientation of them. There are strategically placed bumps on the two story walls to support the floor section and I used one on the outside to anchor the chimney section. The corner brick sections help reinforce the corners and hide the seams.
They say you can use these for Napoleonic battles as well, but I think that these buildings have been pretty heavily shelled with a lot of holes knocked in them by high velocity shells. I suppose Plancenoit looked badly used by the end of the day, but I think these ruins are more suited to WW1 or WW2 battlefields.
I managed to get one house, a smaller out building or cottage and the ruined corner of a third building out of the pieces sent to me. A nice detail is some plastic piles of rubble to set along the bottom of the walls or in corners. Once based up with additional piles of rubble and craters made from Gorrilla Glue and fish tank gravel or cat litter, they will make convincing terrain for much of Europe.
I've ordered some of each for the store. If you don't mind assembling plastic figures then these are recommended. As I said earlier, I was put off at first by assembling plastic kits, but with some decent brush on glue I've gotten to like them and am now pondering getting myself a box of Germans to fight them.... sigh.
Subscribe to:
Post Comments (Atom)




Hard work but very impressive results. I have been pondering buying the Ranges too to beef up my American forces (I own infantry and paras already). This post added weight into my decision
ReplyDeleteBoth the Rangers and ruined hamlet look quality kits, in fact, I've got the latter on order and am looking forward to getting to grips with it - nice one ;)
ReplyDelete