Lt. Cmdr Brayton, Captain of U.S.S Chevalier, stared hard at the columns of smoke where the New Orleans and Atlanta had been only minutes ago."Dear God," he crossed himself absent mindedly and then turned to the helm and his XO "bring us about and prepare to pick up survivors!"So ended a swift, ruthless, and bloody first game of Nimitz.
The fleet lists can be downloaded from here at Sam Mustafa's Honor store. I then copy and pasted assorted ship data cards into a Word document to print out.
I confess I did not have a plan, or order of battle. I was just thinking of the types of battles I had read about and would want to refight, so it was more like "Yeah, gonna need six Fletcher's, couple of 8" cruisers, a pair of Kongos, and which bloody Japanese destroyer types?"
You get the idea.
Add to that how the graphics fit on the page and trying to maximize number of DCs per sheet. Fortuitously, I ended up with a sheet for each side that added up to equal points (49 points for each squadron). Although I'll have to scope out Staples and see what kind of at home laminating I can get so I can cut the DCs apart.
 |
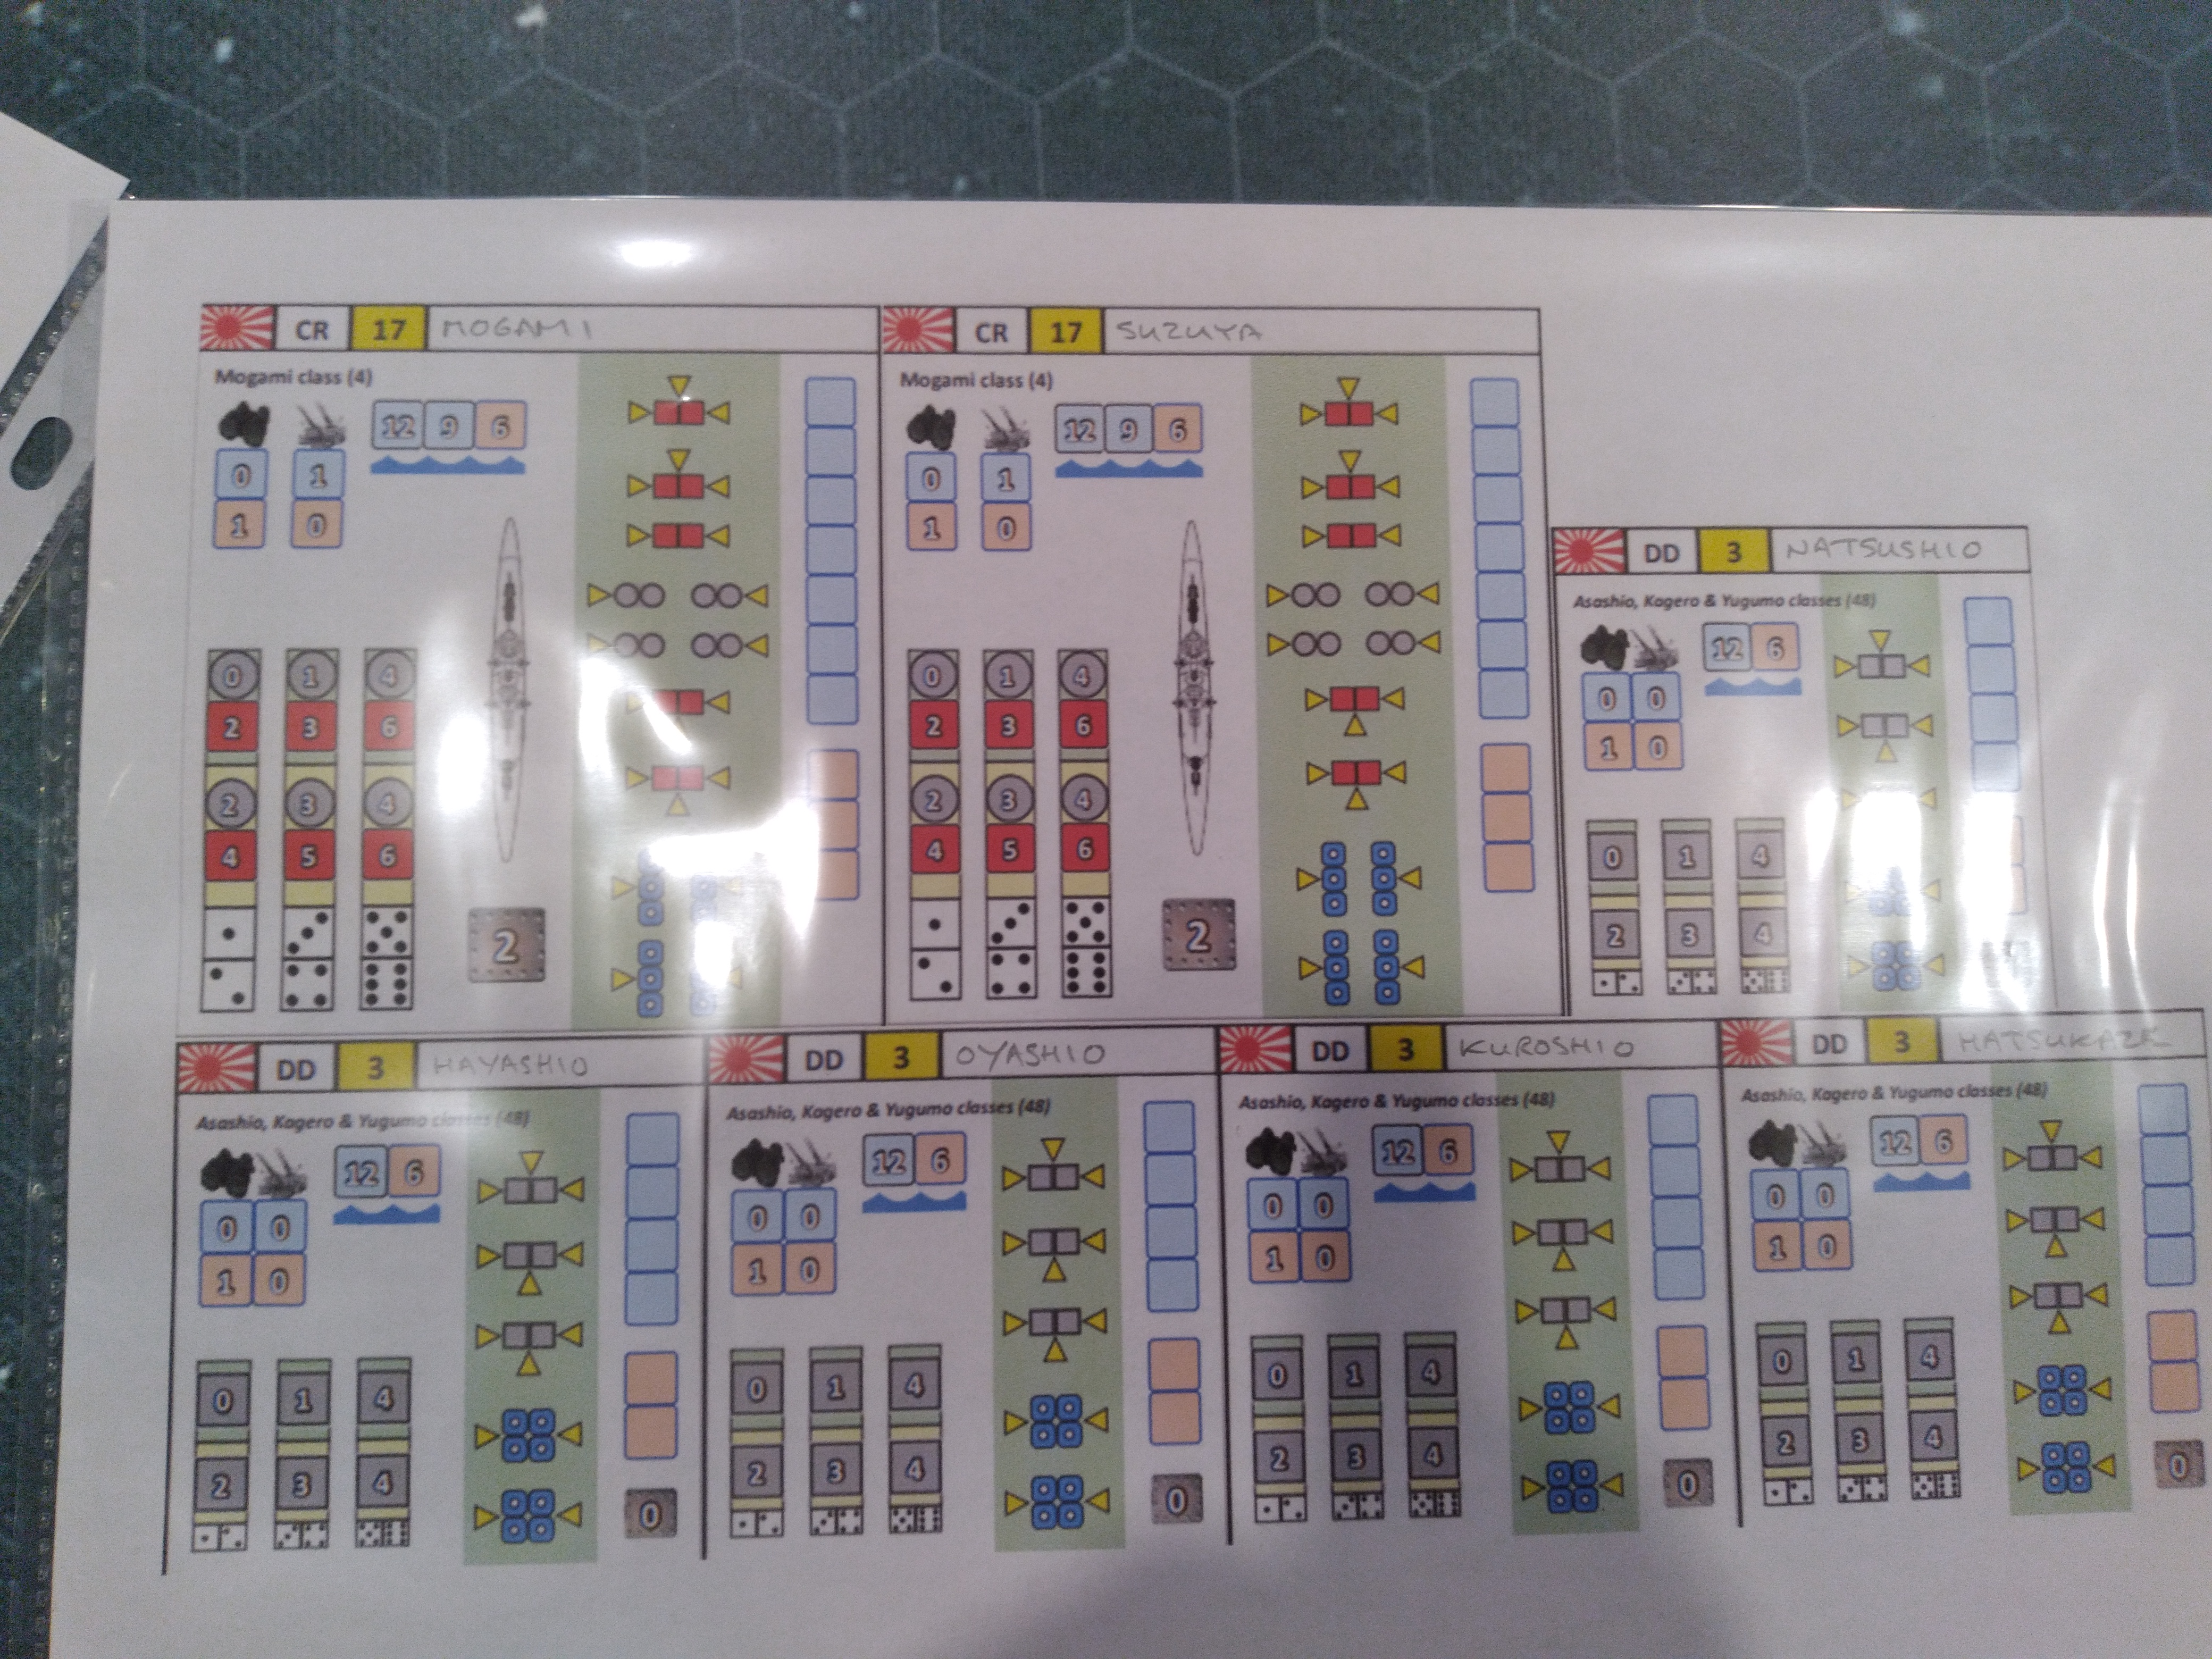
| IJN squadron: 2x Mogami class heavy cruisers, 5x destroyers |
 |
| USN squadron: 1x New Orleans class 8" cruiser, 1x Atlanta class 5" cruiser, 5x destroyers |
I then followed the steps for set up. Both sides start with a 12"x12" deployment square and then roll for advantage. The IJN won the roll so the USN roll again for a second square and how it is oriented and this resulted in a deployment area 12' wide and 24" long extending into the middle of the table. They must deploy half of their ships in each square facing in the direction of the square orientation. So I put a destroyer squadron of 4 ships in the top square and the cruisers with one destroyer in the bottom. The IJN then get to deploy anywhere on their half of the table so long as they are not within 12" of an American ship. I put the cruisers in line, close, but off set, hoping they can cross the American T. The destroyers are further out to the flank so that they can swing in and fire off a volley of torpedoes.
 |
| Initial set up. USN on the right. Their deployment zone marked out by blue dice. IJN in two columns on the left. |
Further rolls decided that it was day time and that the Americans had the advantage of moving first and then shooting first.
Players alternate movement. Ships or formations moving slowly (less than 6") move first, then medium speed (6-9"), then those moving fast (9-12"). Advantage player moves first in each instance, then disadvantaged. No one wanted to move slow. Americans passed on moving medium. IJN move their destroyers medium speed. USN then moves both squadrons at high speed. Both turn to port. The IJN cruisers, having passed on the opportunity to move slower, have to proceed a minimum of 9" to cross the American bows.
The cotton wool to designate firing, splash markers and explosion markers are just used to help me keep track of what was going on and for visual effect in the photographs. Because Rule of Cool, right?
The lead destroyers can only fire at the American destroyer squadron. Each fires a spread of 4 torpedoes. All miss. The last three destroyers have an angle on the
Atlanta and each fires four torpedoes.
At long range they need 6s to hit. Two strike home!
A die is rolled for each torpedo hit and added to the torpedo value of the nationality. The IJN ship launched torpedoes have a value of 5. Beat the armour and you inflict a buoyancy hit. Beat the armour of the target by 6 and you've broken it's keel, sinking her immediately.
 |
| Atlanta goes down |
After one turn I declared this a Japanese tactical victory. The last minute sinking of the
Atlanta definitely tipped the score.
So far, I'm impressed. Using formations makes sense. Destroyers can do things. Firing is quick to resolve, and very bloody, especially if you roll a couple of 6s on your penetration dice. And there isn't the endless rolling on numerous damage charts just to find out that you've only knocked out the coffee maker in the galley.


I really like the clear bases for the ships- definitely the way I would go if I did naval gaming.
ReplyDeleteThanks! It's definitely an aesthetic decision and folks have strong preferences.
Delete