In which I blog about my miniature wargaming and whatever else takes my interest!

In which I blog about my miniature wargaming and whatever else takes my interest!
Showing posts with label Bag the Hun. Show all posts

Sunday, October 23, 2022

Lard Eh 3

On a beautiful October Saturday, when I should have been doing some gardening, I instead drove with Weirdy-Beardy to deepest, darkest, downtown Hamilton for a Lardy themed game day. A change in route thanks to recommendations from a Hot Lead friend made the drive there and home much less fraught with peril, unlike my last three trips to play in Hamilton. Victory for old fashioned map reading! Take that Google Maps and GPS!

I got a spot in friend Brian's 6mm I Ain't Been Shot, Mum game refighting the 1/Suffolk Regiment's 2nd assault on Strongpoint Hillman during the afternoon of D-Day. See also a Youtube video here.


Brian is a fantastic game master who always brings his depth of knowledge about the battle being played to the game to help the players understand what is going on and facilitate any rules interpretation required. His terrain is also very well made and thought through. 

This scenario was one of the players fighting the GM/table since the Germans were pretty static and didn't have much to do except react. Looking at the situation I quipped to my team mates: "Two up, one back, bags of smoke?" One of them replied, "Yeah, sounds good." 

Fortunately our supporting 25 pdr batteries got on the job quickly and the first missions were on target so we had the most dangerous German MG emplacements blinded for the critical break in phase while the Engineers widened the gap in the minefield to let the tanks in.
Our Briefing

Starting the assault

16 platoon storms the kitchen bunker!

Bags of smoke. Engineers are busy widening the gap in the mine field.

Clearing the trench

7 platoon has cleared the AT gun and assaulted the MG next over the garage. Lucky 13 Platoon is getting ready to leapfrog forward.  Lucky because despite being caught moving in the open in a crossfire, they took no casualties. 


The tanks are in the perimeter (two troops still under blinds!) and helping the infantry with short range fire. German Force Morale collapsed just after this.

Brian introduced me to using Force Morale for IABSM, which is a great idea that I'll use from now on instead of troops fighting to the bitter, ragged end.

After lunch I ran my Bag the Hun game. I decided to tart up my cards for the public and considering I haven't played the system for a long while I thought it went pretty well.

Used as my template the cards Richard Clark put out on the internet for an IABSM scenario for the 1st edition 

The scenario involved two chotai of Zeros (6 aircraft) escorting 3 Vals and 3 Bettys to sink an American destroyer. 8 Wildcats in 4 flights have been sent to provide cover. Any game with a ship is automatically 100% cooler in my opinion (so why am I not a bigger naval gamer?!), and it was good to have an objective for the players instead of just groups of fighters swirling about.


Oh dear! Fortunately for the USN the American player rolled very well and the IJN player not so much.


Dive bombers! Vals get 2 solid hits on the destroyer. 1 is splashed by flak and the other 2 are shot down by hungry Wildcats 


Fish in the water! Bettys finally make their attack. 1 crosses in front of the bow. Other 2 hit! But both fail to detonate. 

The destroyer was heavily damaged but at the cost of 3 Vals and 3 Zeros, including their Top Ace. The USN lost 1 Wildcat with a 2nd damaged.  If even one of the torpedoes had detonated, the destroyer would have sunk, giving the Japanese players a clear victory. 

Lee of Crucible Crush was there with his wares, including some of Pulp Figures new 1066 range, so I picked up a warrior princess for my Rohirrim. 


Monday, August 23, 2021

Games, Donuts and Beer!

Now that people are getting fully vaccinated, I have had a slow return to pre-pandemic hobby socializing. 

The Mad Padre looks on as Scott activates some of his Austrians

This weekend the Mad Padre and his son, John, visiting from BC, came for some long anticipated, much needed face to face gaming therapy. 

I had prepared and quickly set up a small game of Bag the Hun to introduce the rules. Because it's August, a Battle of Britain scenario seemed appropriate. 2 flights of Spitfires intercepting a schwarm of 4 Me109s and 2 Me110s. Fun was had. John shot down one of my Me110s. 


Then Scott arrived with some of his French and Austrians. They joined my Bavarians and Russians for a big 4 player game of Sharp Practice. I ran my Bavarians, facing off against the Mad Padre running my Russians, while Scott led his Austrians against John playing the French. Each command was identical for ease of set up and instructional purposes. 

My shiny new Chevauxleger take a hit from Russian artillery

Brand new Formation of Grenadiers march onto the table

A few of Scott's Austrians

I don't have any Russian cavalry (yet), so they got my Prussian dragoons who charged into my advancing Bavarians. Bavarians lost by 2 and evaporated. But we rolled low on Bad Things Happen.


An early run of cards got me and Scott on, then the cards shifted so the Bavarians and Russians settled into exchanging long range musketry while the French and Austrians tore into each other! When we called it, the Franco-Bavarian force was still ahead on Force Morale, but the French had lost a couple of Big Men and were going to collapse soon.

The next morning at Second Breakfast (a few liters of tea and donuts) we had our traditional Big Dragon Rampant/Lord of the Rings game. 115 points per side divided into 3 commands. Mike and I played Evil with a mix of his and mine figures. John played Good using his dad's Elves, Rohirrim and Men of Gondor. 

My wolf riders

3 packs of Wolves running through the forest

Lots of wolf riders! Mike's chunkier Oathmark wolf riders are heavy cavalry. My Vendel are classed as light.


Mike tries out his new Nazgul on Fell Beast, which is about to destroy the elves on the road

Wargs in an epic fight with the Great Bear!

After a slow start the tide of Darkness got going. Mike's scarey Nazgûl on a Fell Beast destroyed a unit of elves in one attack. My right wing composed entirely of wolves (Lesser Warbeasts), wolf riders (light and heavy riders) and wargs (Greater Warbeast) swarmed John's flank, eventually pulling down his giant bear, driving off his ent and tearing apart two companies of the Men of Gondor. 

"Let's just play one more turn" says John, dice in hand, thinking he might pull something off. Rolls a '2' on his first activation. "Ok, how about lunch?" I suggested.

So lead was pushed. Dice were rolled. Beers quaffed and donuts munched. Three games in two days. A good way to hide form the heat wave.

Monday, February 1, 2021

Fighter Sweep Over the Pacific

After the last couple of rather complicated games of Bag the Hun, I wanted to try a straight up dog fight to work on my grasp of the maneuvering subtleties. I mean honestly, I really should have done a few games like this before trying to dive bomb ships.

But mistakes were made. 

The Zeros have been coming off rather badly and I was pretty sure it was a combination of tactics on my part and me missing something, not bad game design. 

There were a few moments like this as I reread sections of the rules 


So, two opposing 12 aircraft formations. The Zeros are in four 3 aircraft Chotais. The Wildcats are in 2 six aircraft divisions, each division flying in 3 pairs. I deployed them in the A-B-C Formation. 

Prowling for the enemy. The Japanese are looser and more spread out 

Americans mind their ABCs and try to stick together. 

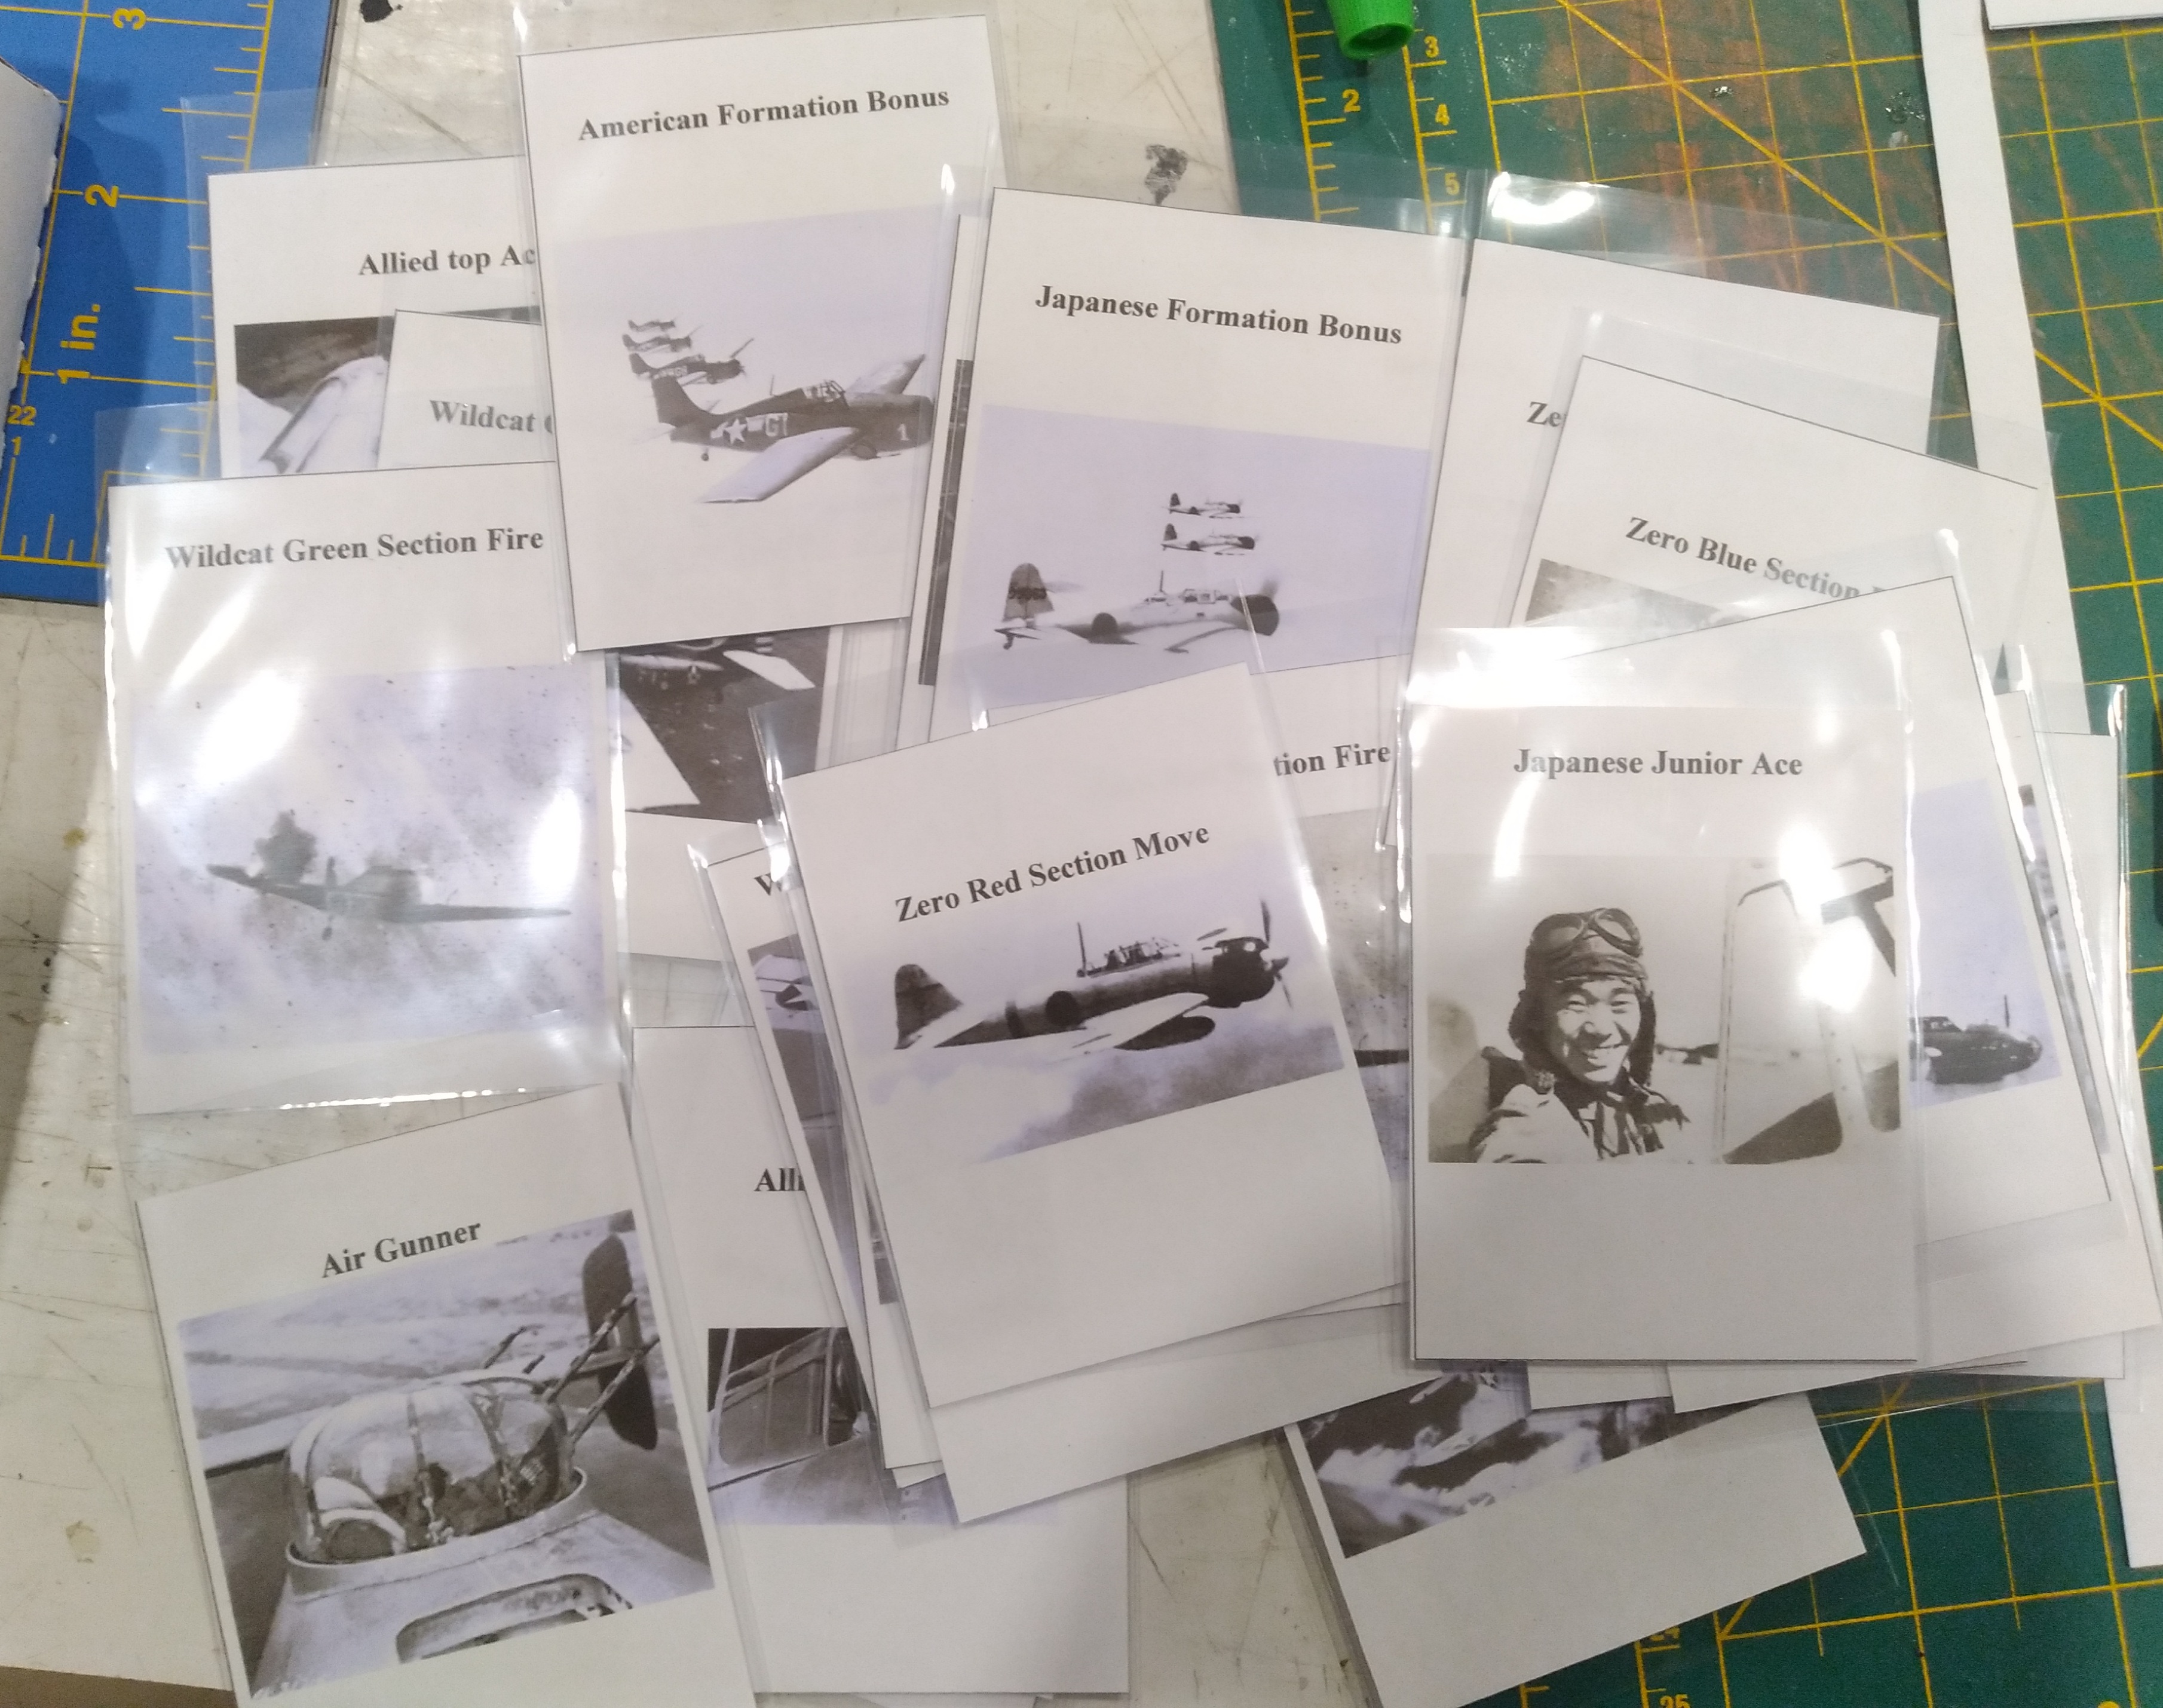
I used the 1942 table to generate pilot quality. I now roll a handful of dice equal to the number of pilots. Best roll is the Squadron Leader. Next best are flight leaders, then section leaders and so on, until the worst rolls go to the wingmen. This eliminates crappy pilots leading flights and splits the sprogs up around the formation, which looks more realistic to me. The Japanese got 3 Junior Aces, assigned to lead 3 of the Chotai. They also got 5 Sprogs (Sprogs get a -1 for shooting, defense, tailing, and maneuver tests). The USN didn't get any aces, and 5 Sprogs. Aces get extra cards to activate and +1 (JuniorAce) or +2 (Top Ace) for shooting,  defense,  tailing and maneuver tests. So the Japanese having the more experienced pilots should be telling. 

Blue dice indicate relative altitude 


Both sides tried to maneuver to concentrate against one half of the enemy formation causing a few turns of bloodless swirling. I also wanted to try the historical diving attack, so everyone also kept climbing to get above and behind a target. Often aircraft would get in position to attack and then the targets would slip away, often with the use of a Formation or Ace bonus card. This helped the Japanese escape the heavier American firepower a lot.

Turn 4 someone finally gets a shot! IJN Red Leader causes wing damage on USN Red Leader 

Who circles out of danger, but then Green Chotai closes in

USN Blue Division is all over the place dueling with blue and yellow Chotai 


The Wildcats are in position to roll over into a diving attack on the Zeros below them


Positioned for a "boom and zoom"

Success! Fuel line hit on the Zero 

IJN ace kills a Sprog

Red Leader has some wing damage but shoots down the IJN Ace 

The game has divided into two separate fights. USN Red division vs. IJN Red and Green at the left. USN Blue Division vs IJN yellow and blue center and right.

US Blue1 performs an Immelman and gets above and behind a Zero, but his wingman doesn't follow and flies off


WTF? Moment as a Rush Hour in the Sky develops. It's all going to turn on who's card comes up first next turn. IJN Red get to shoot wounding both pilots (-2 on shooting now and limit maneuvering). USN Red division is in rough shape, 2x wounded, 2 aircraft damaged, 1 shot down. Only 1 Sprog untouched. 

Back to US Blue1 which gets a Flight Leader card and does a diving attack 

Boom! Another Zero killed. 

The Wildcats dive through IJN Green to escape, .50 cals blazing, destroying one. But the Zeros don't lose their tail.

The rest of USN Red division breaks their tails on IJN Green to help out the others 

To good effect! One Zero vaporizes and the other is severely damage 


Ace IJN B1, leaking fuel sneaks up behind the Sprog causing some damage. But Blue 3 &4 are in  perfect position to roll into a diving attack on him

Which they do. IJN B1 explodes after 2 sets of .50 cal bullets tear into his aircraft 

IJN Green dives through USN Red doing minor damage,  but this puts them in front of a flight of angry Wildcats. 

USN Blue Division breaks off. B1 goes to rejoin his wounded and damaged novice wingman 

The Wildcats of Red flight pounce!

IJN Green 1 explodes giving USN Red Leader his 2nd kill and the US Sprog sends IJN Red2 spinning into the waves!

I called it there. The Japanese losing 3 aircraft in the last turn was pretty devastating. The ruggedness of the Wildcats really helped the Americans I think. Of course, the Japanese wounded 3 of the American pilots and those could have easily become kills if I'd rolled a 4+ instead of a 2 each time.

VF-19 returns to the carrier with 3 pilots wounded,  3 aircraft damaged and 1 lost, but 7 kills to their credit. 

Keeping formations, or at least pairs, for as long as possible, even if it limited firing opportunities, paid off in the long run I think. It was certainly a different experience not having bombers affecting tactics. 

I almost set the game in late '43 and took my 6 Hellcats. With robustness of 3, to the Zero's 1, that would have been ugly!

Maybe I should try the Wildcats as proxies for Brewster Buffaloes for a true early war experience? Or repeat the scenario but set it over England?