
First assembly:


I noticed while I was painting that some of the bodies have empty scabbards. But in an effort to create some dynamic poses I was just looking at the position of legs and arms, so I have some chaps with pila and an empty scabbard and others thrusting with their gladius with another hilt in the scabbard. Oops.

I then glue everyone on to some scrap card for ease of handling (and to keep the light plastic figures from blowing away with the force of the spray) and white prime. I use a matte spray in the summer and in the winter I switch to brush on gesso.

Everyone is then given a heavy wash of burnt umber for a base coat. Notice I have now cut the strips of card apart for ease of painting.

Armour, weapons and edges of shields are then given a heavy dry brushing of pewter or gun metal.

Flesh is then blocked in, leaving recesses dark brown. I also block in the tunics. For this group I used raw linen for the legionaries and then red for the Centurion and his NCOs. You'll notice that this group includes two of Warlord's metal optios. My friend bought two blisters of these figures, so I added two in to round the group up to 32 figures.


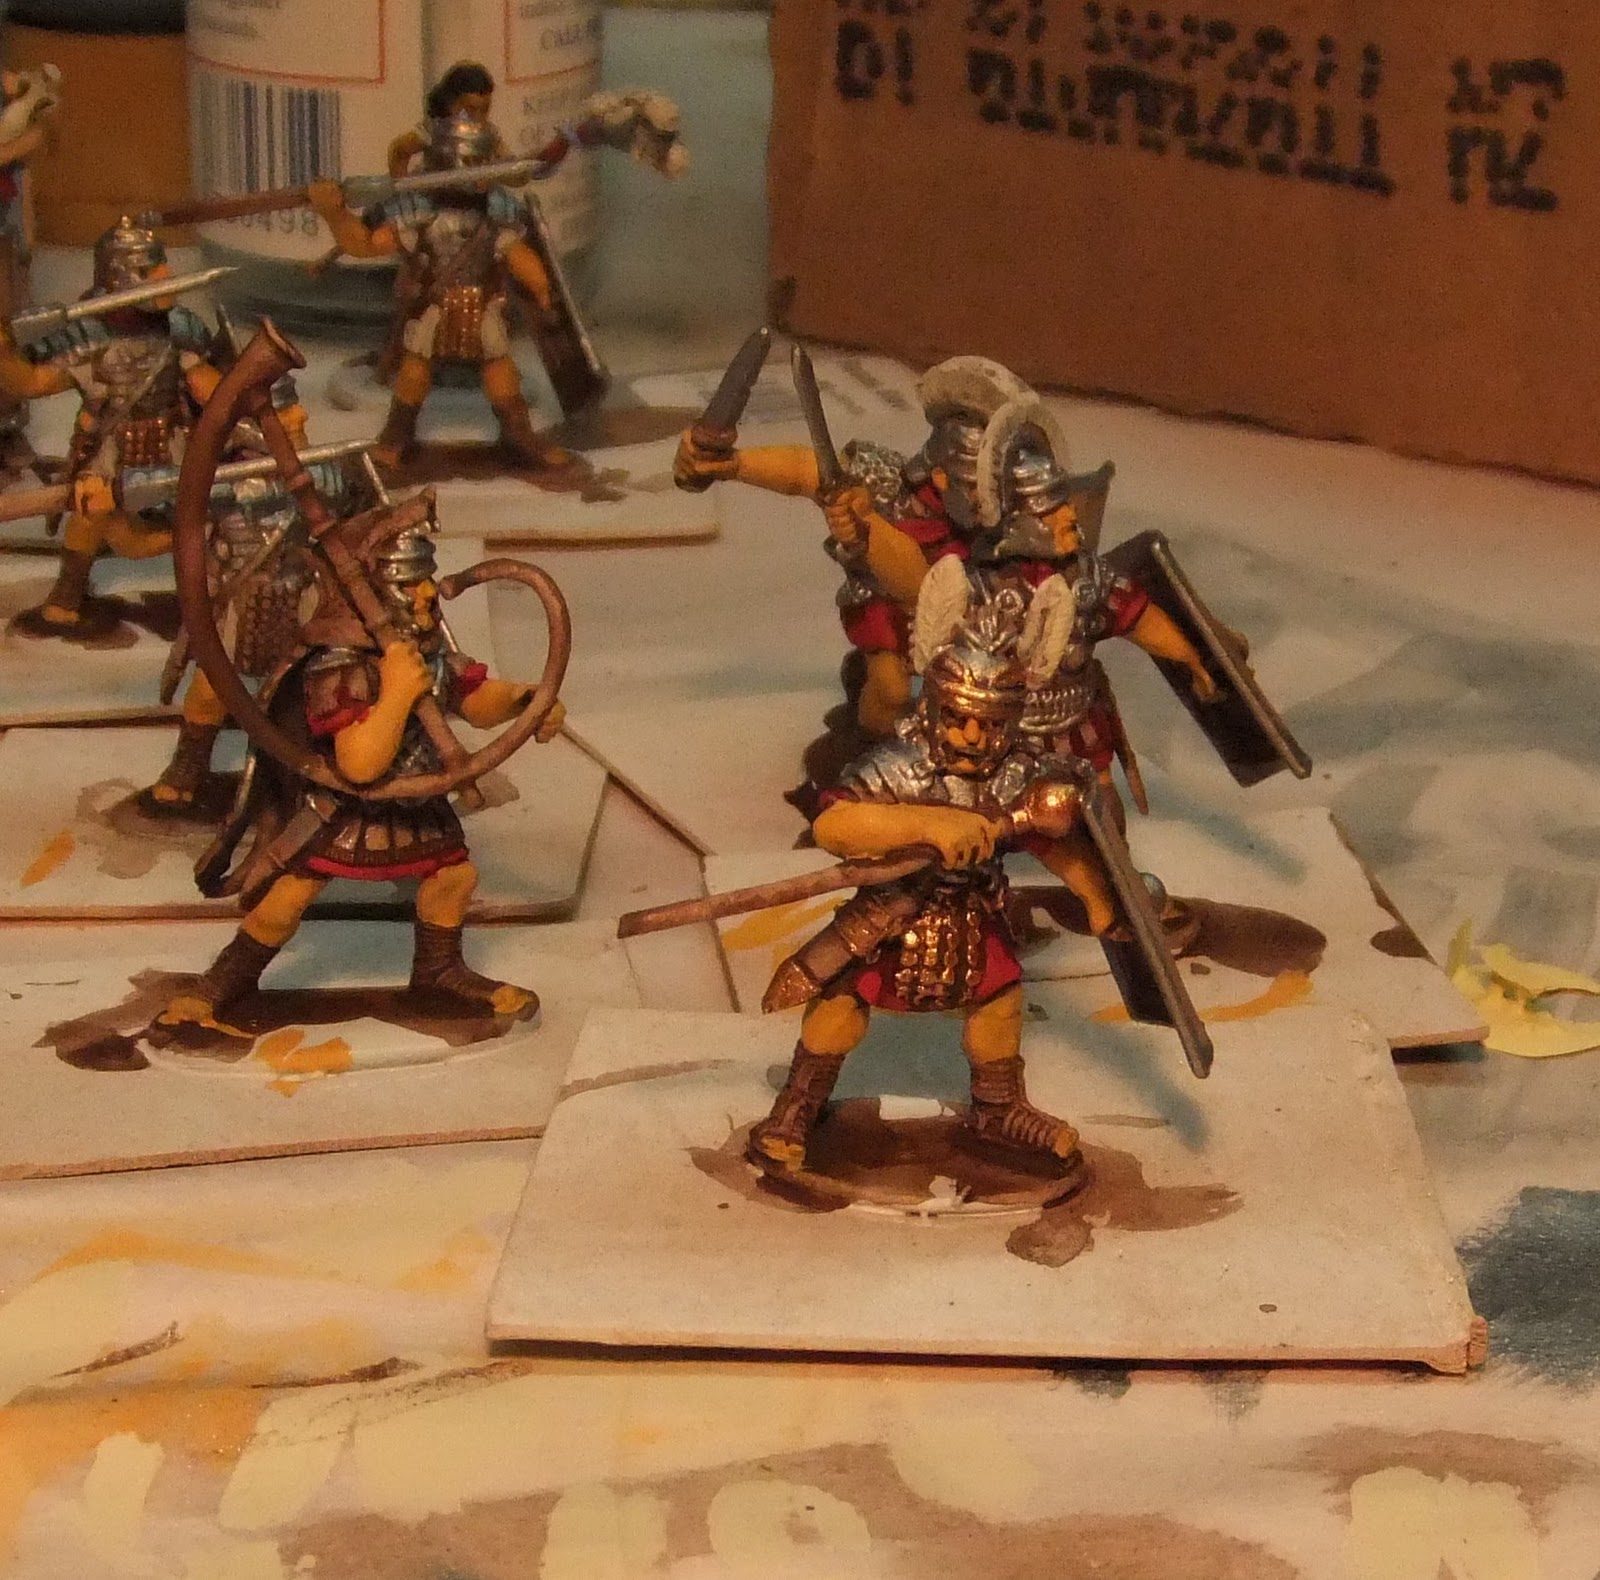
Next I did the highlights on the red tunics. Here's the back of one of the optios showing the contrast and for a better idea here's a shot of my palette to show the contrasting shades I use.


Next I ink any wooden bits (mostly the pila shafts) in brown and use black ink on the scabbards and the one optio's crest. I use some artists acrylic inks. I used to use Games Workshop inks but those have gone off the market and the artists inks are actually cheaper. I use the dropper to decant some ink into an old GW bottle for working with though.


The leather peturges on the Centurion,the cornicen and the signifer are then blocked in with raw linen. the Centurion's greaves and chest decorations are highlighted with silver.

After a tidy up of any paint slips the figures are ready for the dip. This time I brushed it on and kept a bottle of paint thinner handy to keep the brush clean. Much less mess and fuss than actually dipping. Although care still had to be taken to watch for where the dip wanted to collected and form droplets. In this instance it was in the lower inside corner of the shields.


The observant among you will have noticed these lovelies lurking in the background in some of the shots. They're for me. A set of Warlord's Roman Slave Girls. I painted them up while I worked on Scott's legionaries. I don't have a Legate yet, but when I get one, he'll find the preatorium to be quite comfortable!


a great write up..
ReplyDeleteBloody good work on those legionaries and the ladies of course....
ReplyDeleteGreat tutorial
ReplyDeleteHow are you planning to do the shields?
Miles
Transfers. Although since both Scott and I have Warlord Romans both our armies are going to have the same shields! Hmmmm... will have to investigate some alternatives.
ReplyDeleteNice work! I'm currently constructing a batch of Wargames Factory Zulus, and appreciate your useful tips.
ReplyDeleteMy friend has reminded me that in his big box of stuff are some alternate Little Big Man Studio transfers, so his legionaries will have different shield patterns from mine.
ReplyDeleteThese all look great!
ReplyDeleteEd
http://optio82.blogspot.com/